How to Start a No-Dig Vegetable Bed in a Small Backyard
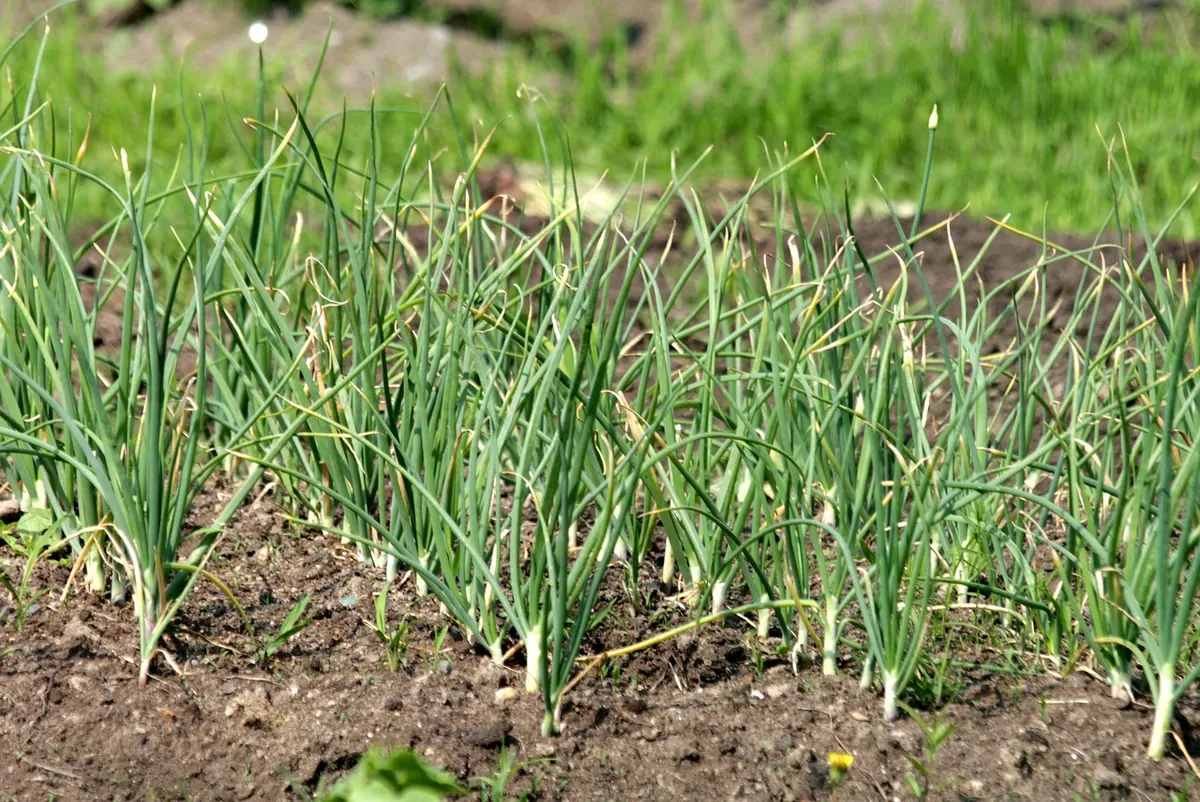
A vegetable bed doesn't have to start with a spade, a borrowed rotavator, or a weekend of backache. If you have a strip of lawn, a corner beside a fence, or a patch of tired paving, you can turn it into a productive bed in an afternoon and be planting within days. No-dig growing works from the top down: you smother whatever is already there, add compost, and let worms and roots do the digging. In a small backyard that isn't just easier — it's often the only realistic way to get started.
Why No-Dig Works in a Small Yard
Digging is hard work, and in a cramped garden it's also awkward work. There's nowhere to put the spoil, no room to swing a fork, and every turned forkful brings buried weed seeds to the surface where they sprout.
A no-dig bed sidesteps all of that. You keep the soil structure intact, which matters if your ground is heavy clay or has been walked on for years. You also avoid the cycle of dig, weed, dig again. Instead, you build a layer of rich material on top and plant straight into it.
The practical bonus for small spaces is storage. No spade, no cultivator, no stack of tools in the shed. A wheelbarrow, a trowel and a watering can will take you a long way. And because the bed is defined by its edges, the growing area stays tidy rather than creeping into the lawn.
Choose the Spot and Size Before You Build
Sunlight matters more than soil quality here, because you're bringing your own soil. Most vegetables want a good stretch of direct sun — six hours or more is a sensible target for tomatoes, courgettes and beans. Salad leaves, chard and herbs will manage on four or five.
Check a few practical things before you commit:
- Water access. Carrying cans across the yard gets old fast. Stay within a hose length of a tap, or plan to keep a water butt nearby.
- Drainage. Avoid the lowest dip in the garden, where water sits after rain.
- Trees and hedges. Roots travel further than most people expect and will steal water and nutrients. Keep a metre or two clear.
- Paths. Leave about 60cm between beds so you can kneel, harvest and push a wheelbarrow without trampling plants.
For size, keep the width to about 1.2 metres if you can reach it from both sides, or 60 to 90cm if it sits against a wall or fence. Length is flexible: a bed 1.2 by 2 metres will happily grow salad, herbs, a tomato plant and a row of chard.
Building the Bed: Cardboard, Compost, Done
This is the whole method. It takes an afternoon.
- Cut back the existing growth. Mow the grass as short as you can, or trample weeds flat. Don't dig and don't spray.
- Lay cardboard. Use plain brown cardboard, not glossy printed boxes. Remove tape, staples and labels, then overlap the sheets by about 15cm so nothing shows through. Two layers is better than one.
- Soak it. Water the cardboard until it's thoroughly wet. This holds it down in the wind and starts it breaking down.
- Pile on compost. Spread 15 to 20cm of compost, or a mix of compost and well-rotted manure. Bagged compost is perfectly fine for a small bed.
- Edge and settle. Timber, bricks or nothing at all — it's cosmetic. Water the bed, let it settle for a few days, and plant.
If you're building over concrete or gravel, use a simple timber frame at least 20cm deep. The cardboard still goes down first to stop weeds creeping in at the base.
One honest caveat: cardboard suppresses most annual weeds well, but stubborn perennials such as bindweed, couch grass or ground elder can push through. Add a second layer of cardboard, or accept that you may need to pull those by hand for a season.
What to Grow in the First Year
The compost layer is nutrient-rich, so the first season favours hungry, leafy crops. Direct-sow lettuce, radish, spinach, chard and beetroot in shallow drills. Carrots work if your compost is fine and crumbly rather than lumpy; in rough compost they fork and twist.
Add a few transplants for instant structure: a tomato in a corner, a courgette plant at the end, a pepper in a pot sunk into the bed. Keep roughly 20cm between salad plants and 45 to 60cm between larger crops so air can move between them.
Don't sow into pure fresh manure — it's too strong for seedlings and can burn roots. Let manure sit for a few weeks before planting.
A gentle succession trick
Instead of filling the bed once, sow a small patch of salad every two or three weeks through spring and early summer. You'll get a steady supply rather than a glut followed by nothing, which matters when you only have one bed.
Watering and Feeding With Almost No Effort
Water deeply and less often. A good soak twice a week in dry weather builds deeper roots than a light sprinkle every evening. Push a finger into the compost before you reach for the can — damp at knuckle depth means you can wait.
Mulch the surface with 5cm of straw, grass clippings or fallen leaves. It keeps moisture in, smothers weed seedlings and slowly feeds the soil as it rots. Top up the bed with 2 to 5cm of compost each spring or autumn. Between that and the mulch, you rarely need anything else. Skip the bed itself when walking around — compaction undoes the whole point.
Small-Space Tweaks and First-Year Snags
Most problems in a new no-dig bed have simple answers.
- Cardboard flaps in the wind. Soak it again and weigh the corners down with bricks or a thin layer of compost.
- The bed sinks. Compost settles as it decomposes. This is normal; just top it up next season.
- Slugs. They love the damp shelter the layers create. Water in the morning, keep mulch slightly away from stems, and check under boards in the evening.
- Weeds at the edges. Trim the grass or pull the edge weeds before they drop seed. Ten minutes a week is enough.
- Cats and foxes. A few short sticks pushed through the compost discourages scratching without spoiling the look.
Start This Weekend
Pick your sunniest patch, cut the growth back, lay wet cardboard, and order or collect enough compost to cover it. That's a full afternoon's work and the hardest part is the carrying.
Plant something cheap and quick first — radishes, a bag of salad leaves, a herb pot — so you see results within weeks and learn how the bed behaves. The soil underneath will be softer and livelier by next spring, and you'll have done none of the digging. Start small, keep it watered, and let the worms take it from there.
Photo: zoosnow / Pixabay